Ruby
Python
PHP
Java
Node.js
Go
.NET
Shopify App
Step 0: Install Beam Shopify App
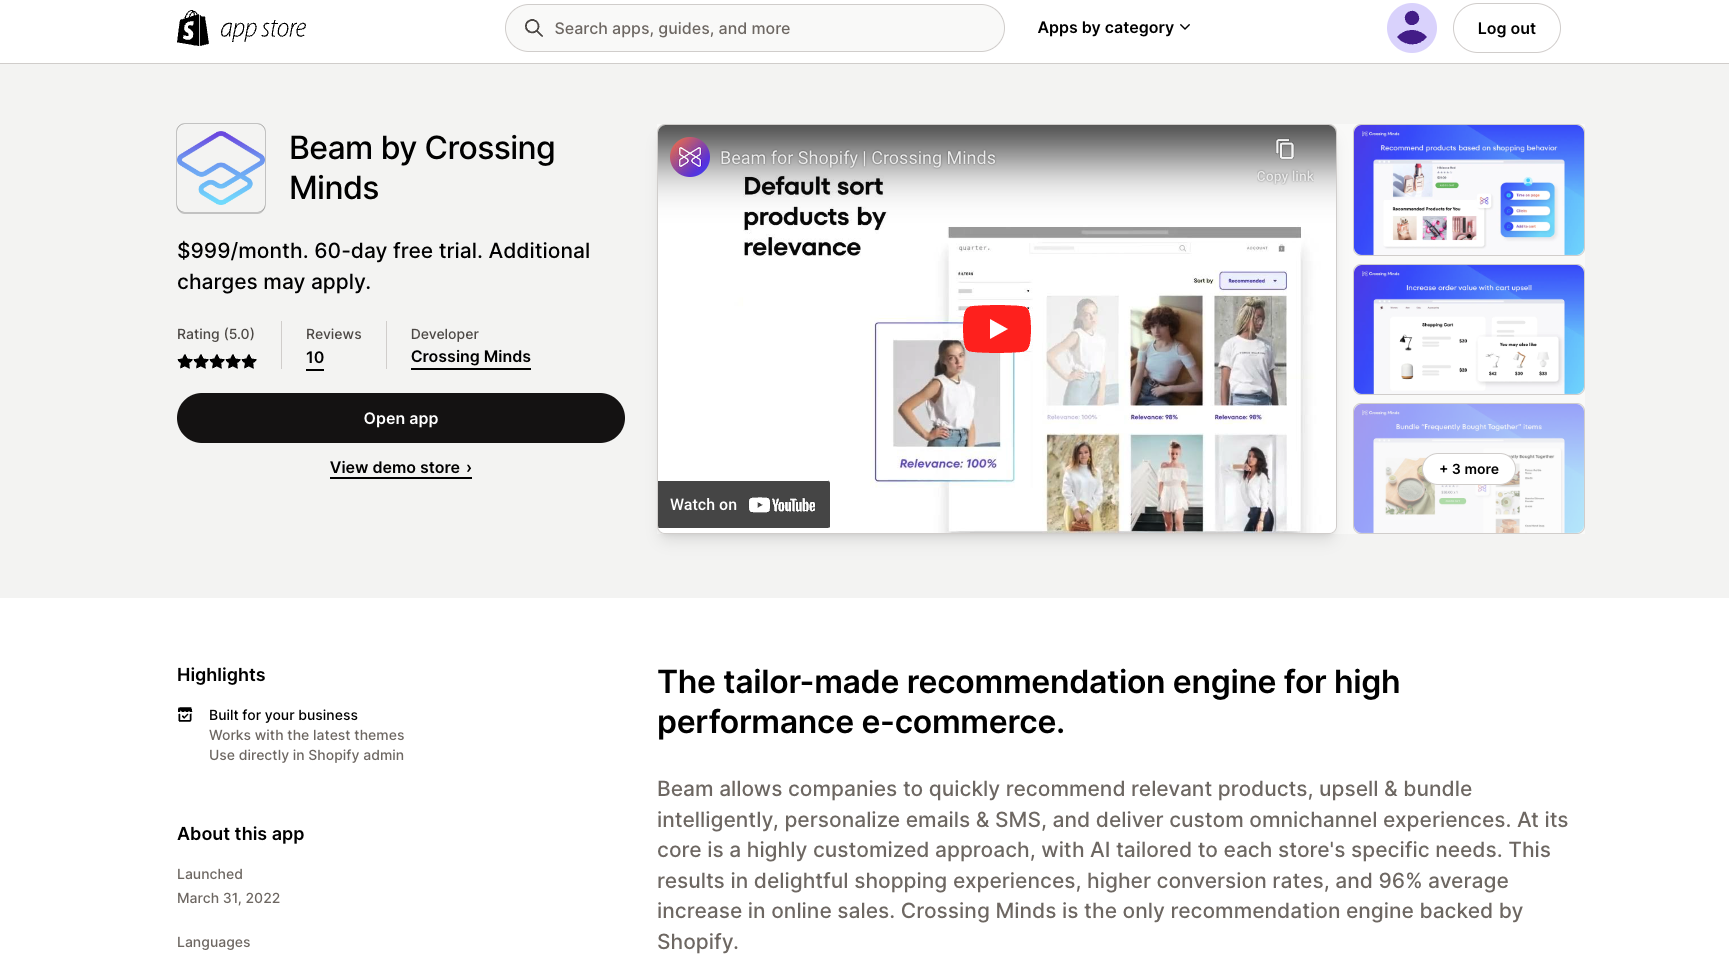
Simply go to the Shopify App Store and intall Beam by Crossing Minds.

Step 1: The Initial Sync
Once the app has been installed, the backend account credentials will be requested. The Crossing Minds team will provide this information when ready. Those credentials can only be accessed once your PoC started and your kick off call setup with your dedicated customer success manager and Machine Learning Engineer.

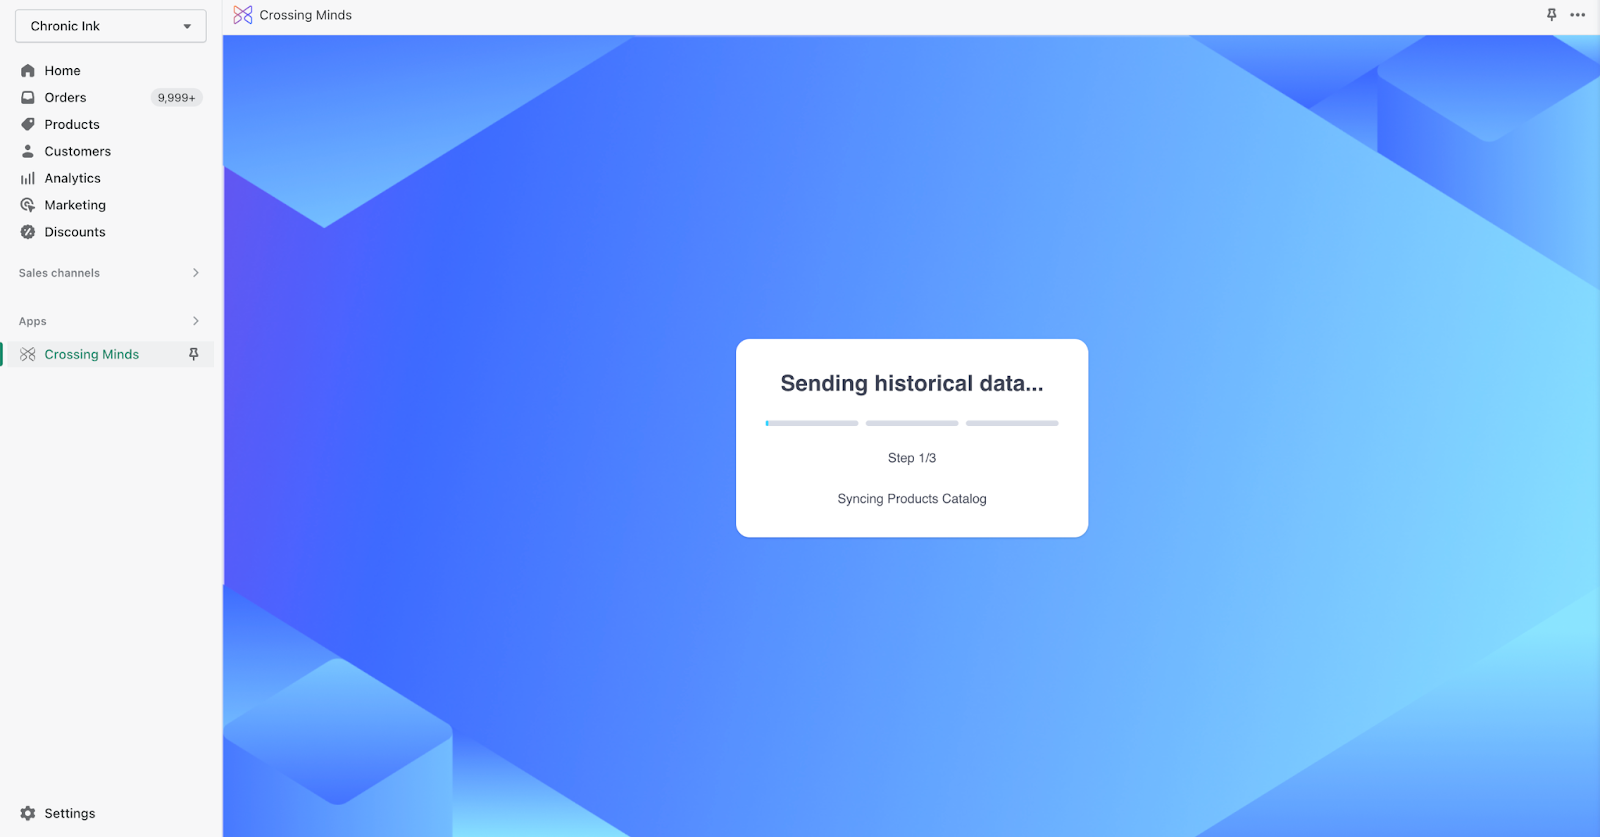
After the credentials are entered, the historical sync will automatically be triggered. This sync will fetch items, users, and interactions from Shopify

Configuring the DB allows Crossing Minds to capture your desired information for any Shopify events/updates that happen in the future. It does not capture any data from the past. To fill the DB with historical data, a second historical sync must be configured via the Shopify portal. Please note that your Crossing Minds team will let you know when the Database is ready for the secondary sync and request you to follow the steps below.
Step 2: Enter Your DB ID
When you reach this screen reach out to your Crossing Minds team for your DB ID

Step 3: Enable the live data integration from the Shopify portal
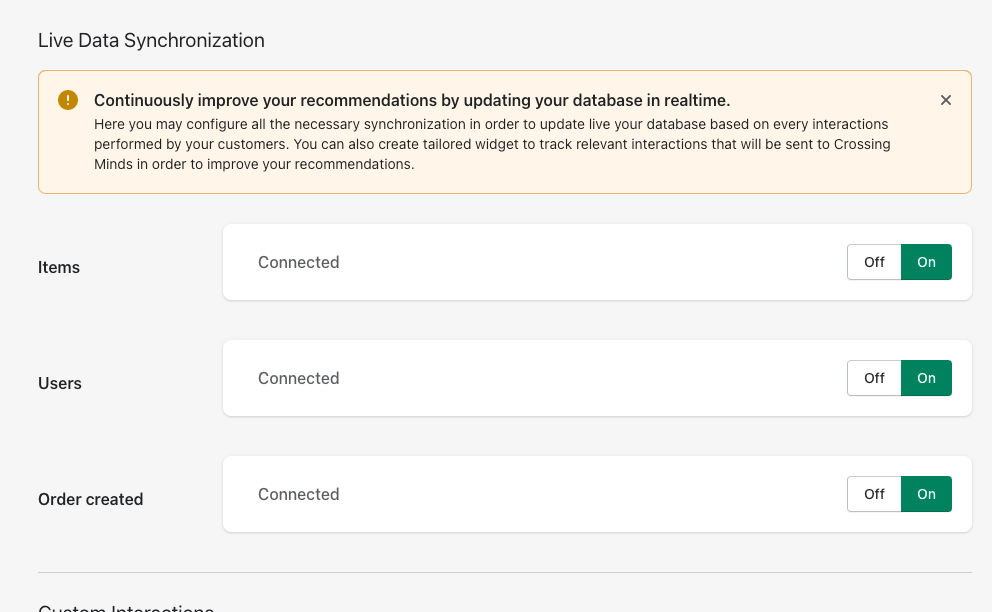
On the same page on the Shopify portal where you triggered the historical sync, turn on the live data synchronization of Items, Users, and Orders.

Also turn on the integration for Product Page Views and Purchases.

Once this is done it ensures that the DB is always kept up to date.
And that’s it! You’ve successfully configured the Beam app and your team can start setting up the recommendations model.
Step 4: Enable Widget
Detailed instructions can be found there. Extend your theme with apps
- From your Shopify admin, go to Online Store > Themes.
- Find the theme that you want to edit, and then click Customize.
- On the sidebar, click the App embeds icon.
- Select the app embed that you want to activate or click the Search bar and enter a search term to search through your installed apps. In our case here this would be “Beam - Custom Interactions” and “Beam - Slider Links”

- Besides the app embed that you want to activate, click the toggle to activate it.
- Optional: View the settings for the app embed by clicking the expand icon ▸ next to the app embed name.
- Preview your store to view the embedded app live.


