


Ruby
Python
PHP
Java
Node.js
Go
.NET
Salesforce Marketing Cloud
This guide provides a step-by-step process on how to integrate recommendations from Crossing Minds to Salesforce Marketing Studio.
Getting Your Credentials
The first step is to generate an API key, providing the following details:
- Salesforce Domain (typically starts with "mc", e.g., mc9chqdhw7j3plyfm7z8wczzkc14)
- Salesforce Client ID (e.g., b87enfklp02fzjyppqvn45hk)
- Salesforce Client Secret (this is a confidential key)
There are two cases to consider here:
- Case 1: If you provide your Crossing Minds support team with both read and write access, then you are good to proceed with these credentials.
- Case 2: If you can only provide write access and not read access, then the Crossing Minds team will likely need a user account, with access to Marketing Cloud for us to support best.
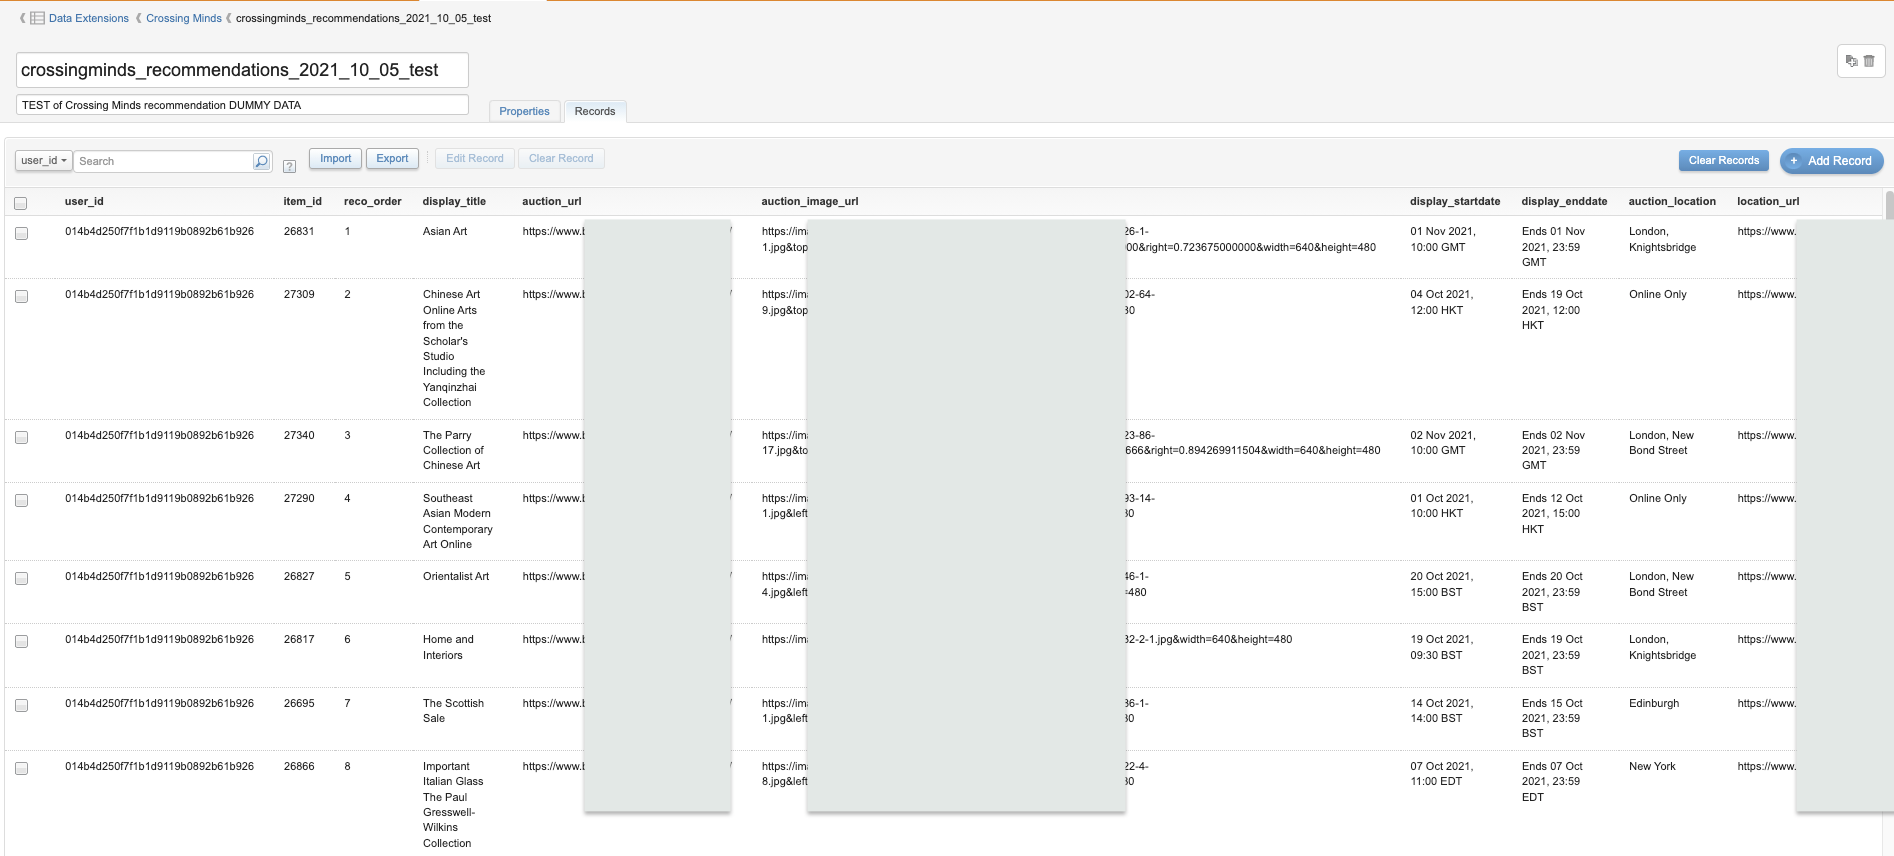
Data Extension Configuration
In Salesforce, the equivalent term for a table is "Data Extension". Here's how to configure it:
- You may want the Data Extension in a specific sub-folder. You need the name of this folder (e.g., Crossing Minds).
- Decide on a name for the Data Extension where the recommendations will be stored. For example, those can be named: crossingminds_recommendations_2022_08_03.
If you have read access (Case 1), the API will be able to create the Data Extension automatically. However, without read access (Case 2), you will need to manually create the Data Extension within the Salesforce dashboard.
Once the Data Extension is created, you need the “customer key”, which is a UUIDv4 in capital letters. With read access (Case 1), the API key can retrieve it automatically.
Without read access (Case 2), you'll need to manually retrieve the "EXTERNAL KEY" from the Salesforce dashboard and send it to the Crossing Minds team.
Uploading the Recommendations
Prepare a CSV file with one line per user, and all item properties in columns, such as:
user_id, item_id_1, display_title_1, item_id_2, display_title_2, ...
This would be done on the Crossing Minds Side or through your dashboard soon.
Creating Dynamic Content Blocks within Salesforce
Once your data is successfully uploaded to Salesforce, you can use that data to create dynamic content blocks within your emails. Dynamic content blocks are segments of an email that change based on the data or preferences associated with the recipient. Here's how you can set them up:
- Navigate to Content Builder: From your Salesforce Marketing Cloud dashboard, select "Email Studio", then "Content Builder".
- Create New Content Block: Click on "Create" in the top-right corner of your screen and then select "Content Block".
- Select Dynamic Content: In the "Content Block" creation window, select the "Dynamic Content" block type.
- Set Up Rule Definitions: You need to set up a rule definition for each type of content you want to display to different groups of subscribers. Click on "Define Rules". Here you will select the data extension and the specific field or fields you want to use as the basis for your rule. For example, if you want to display a different product recommendation for each subscriber, you would select the product recommendation field from your data extension.
- Create Content for Each Rule: For each rule definition, you'll need to create the content that will be displayed if the rule conditions are met. You can do this by dragging and dropping elements from the Content Builder onto the canvas, just like you would when creating a regular email.
- Save and Use Dynamic Content Block: Once you have created all the necessary rule definitions and the associated content for each, click "Done" and then "Save". You can then insert this dynamic content block into your emails.
Do bear in mind that the dynamic content block will adjust in the final email based on each subscriber's data from the data extension. Thus, it's crucial to ensure your data is accurately uploaded and structured before setting up the dynamic content block. Furthermore, always thoroughly test your emails to confirm the dynamic content displays correctly.
For a more detailed step-by-step guide and information on managing dynamic content, please refer to the Salesforce Marketing Cloud documentation available at this link.
Please note, this tutorial provides general guidance and the exact procedure might differ slightly depending on your Salesforce Marketing Cloud version.
You can also find more information about leveraging dynamic content blocks with the following video:

